
This documentation covers the setup and the usage of installment payments through any payment processor or payment method that is supported. The installment feature is part of the so called payment page Add-ons that enables merchants to add additional features and flows on top of the payment page integration without having to do anything on their end.
The installment feature combines the tokenization and charge flow feature. An initial transaction will be split up in different slices and then charged later based on an token that is created in the initial payment. In order to capture failed payments efficiently the application tries to collect failed payments via charge flows.
In order to understand installments it is important to know how the standard transaction flow and its state is linked to the states for the installment payments and the payment slices.
The graph below provides an overview how the installment payments are linked to the standard payment transaction flow.

-
Once a transaction is created the installment plan will go to
Authorized. -
In case the transaction switches into the
Failedstatus then Installment Payment will switch toRejected. -
In case the transaction is
Voidedthen Installment Payment will switch toRejected. -
In case the transaction is
Declinedthen Installment Payment will switch toRejected. -
When the transaction is
Completedthe slices will be recalculated and the installment payments switch toCompleted. -
As soon as the initial transaction switches into
FullfillState then the Installment will be in theRunningstate. -
In case on of the transaction slices fails the whole installment will go to state
Defaulted. Setting up Charge Flows will help you to collect payment details more effectively from your clients (see more information below). -
Once ever slice is charged successfully the installment will be finished in the final state
Done.
The graph below provides an overview how the installment payments slices are linked to the standard payment transaction flow.

-
The payment slices will be in state
Canceledwhen a slice is cancelled by the merchant. -
The payment slice will automatically go into the
Processingstate when the time period is reached for the processing of the slice. -
In case the payment transaction is
VoidedorFailsthe state of the slices will switch toFailed. -
As soon as the transaction is marked as
Fulfillthe state of the slice will beSuccessful.
To use Installments on the payment page, you have to activate the installment feature for the payment page add-ons. To do that navigate to Space > Configuration > Addons. There you are able to activate installments.
Here you are able to activate several add-ons. In case you have already activate other add-ons your are able to sort them on your payment page by clicking on configure elements. Here you are able to sort the elements on your payment page.
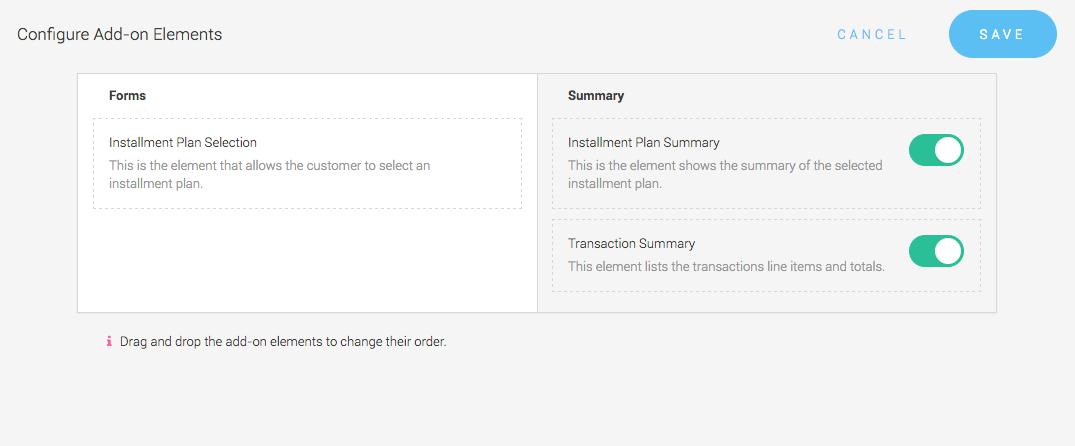
Please note that the add-on for installment is the easiest way to process installment payments. However, in case you want to achieve an integrated solution via iFrame or Payment Page for your store where the buyer is able to select the installment plan directly in your shop we suggest that you build the integration yourself in the following way:
-
To calculate the installments use the Installment Plan Calculation Service on our API. This will return the installment plan that can be rendered on your side.
-
Instead the normal confirm operation on the transaction service the CreateInstallmentPayment Service has to be used. This service creates the installment payment and confirms the transaction in a single step. For the iFrame as well as for the payment page integration all other steps remain the same.
|
Note
|
We do not provide a special API for completions and refunds of installments. You will have to build this yourself or you are logging into the application to do this. |
The main advantage of such an integration is that you can control the look and feel better and you can realize a integration of the completion and refund from within your store backend. Additionally, the fees applied on the installment payment can be stored in the merchant application. Otherwise the actually charged amount may not correspond to the amount shown in the shop.
In order to successfully use installments you should at least setup a charge flow to collect payments. Based on the charge flow we will try to charge a token respectively try to collect failed or missing information from your customer.
-
Find out more about Tokenization.
-
Find out more about Charge Flows.
|
Note
|
In case you do not setup charge flows
we will initially charge the token that is created with the initial transaction. In case
the token is not valid anymore the slice and the installment payment will fail, means the slice
switch into the state Failed and the installment payment will go into the state Defaulted and
we will not try to collect the payment.
|
The installment feature will give you the option to split every payment into slices of multiple payments that are automatically charged based on the payment schedule you have defined.
First of all we have to setup an installment plan. This can be dune under Space > Configuration > Installment Plans. Here you are able to create your installment plan base configuration. It is also where you setup multiple configuration values like installment fees, interest rate or minimal amount.
Here you can also link the installment plan fix to certain payment methods so that only this payment methods will be shown to the client.
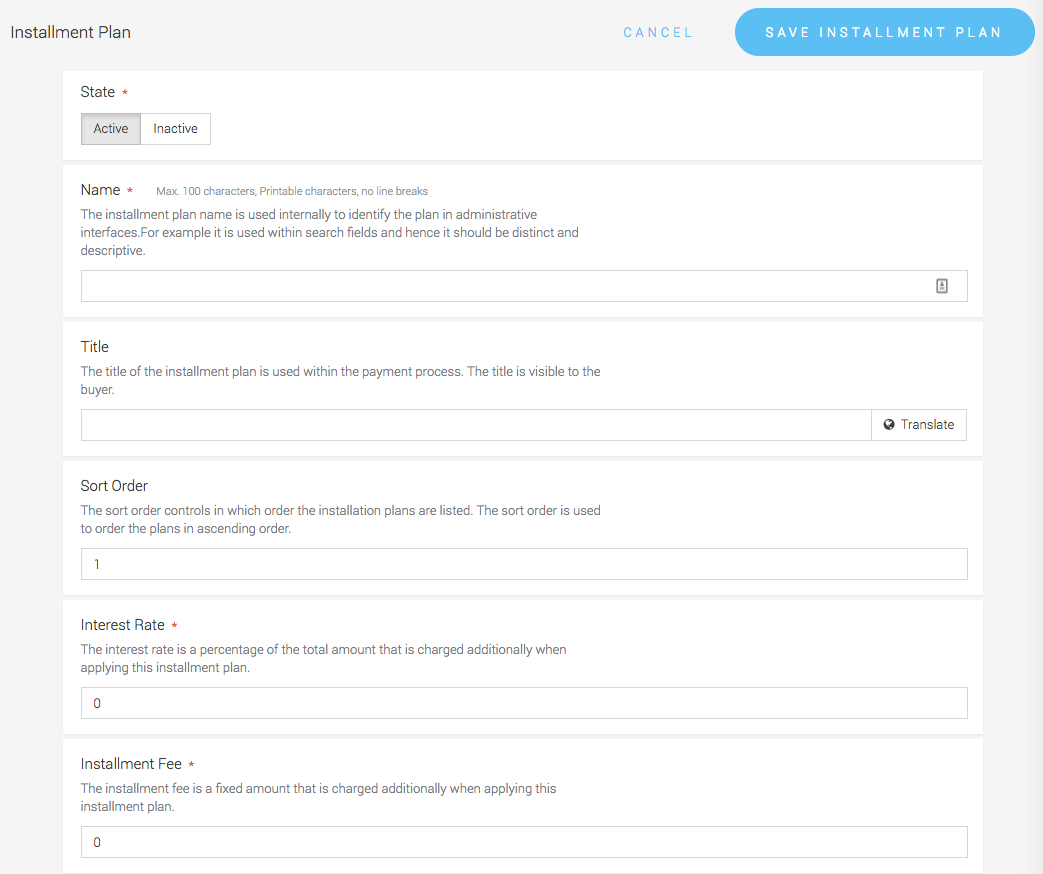
Every installment plan consists of so called payment slices. Those represent the actual installment payments. After you created your installment plan you can open it to attach payment slices to it.
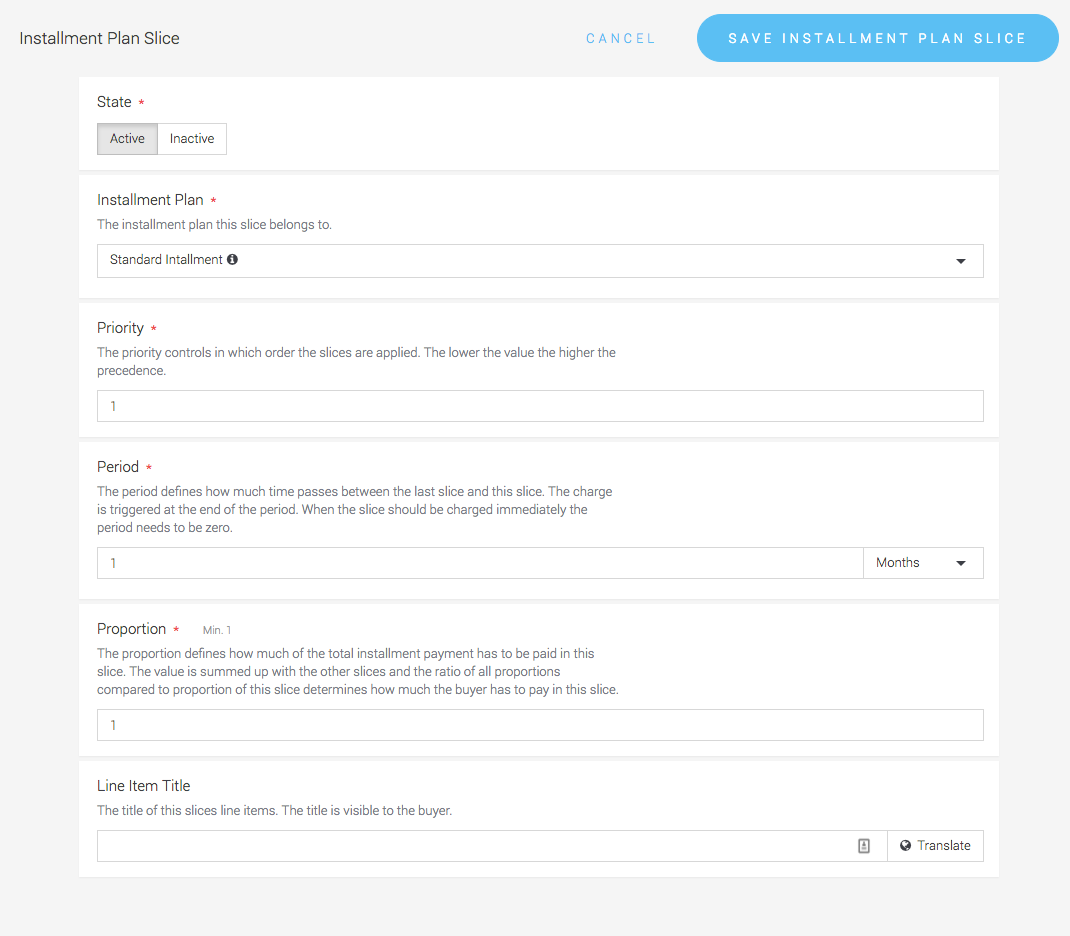
Inside the payment slices you define the basic settings on how and when the slice payment is charged:
-
Priority represents the sorting order of the payment slice. It has to be unique.
-
Period defines how long after the next payment will be taken for the next slice. In case you want to charge your client initially a sum, set the period to 0.8
-
Proportion defines how the proportion defines how much of the total installment payment has to be paid in this slice. It will be summed up with the other slices and set into a relation.
-
Set an line item title in case you want to have something specific on the invoice.
Create now as many slices as you want.
|
Note
|
If you change the settings of your slices this will not have an effect on already cleared installments that are running and not finished yet. |
How to use Proportions:
The proportion defines how much of the total amount will be charged in each slice. Therefore, proportions do not equal percentages. Means you should not enter percentage there. Lets do an example with the following numbers:
-
Proportion 20 for slice 1
-
Proportion 20 for slice 2
-
Proportion 20 for slice 3
-
Proportion 20 for slice 4
This means the total of all Proportions is 80. This means that for the each slice we are going to charge 20/80 or with other words 25%. So in case you want to know what the percentage of the slice is you will have to sum the proportions of all payments and divide by the proportion of your slice. This has the big advantage that it is more flexible and you are able to add proportion later without adjusting every other slice.
Installment payments are now visible on your payment pages. Merchants are able to choose from the different installment plan that you configured.
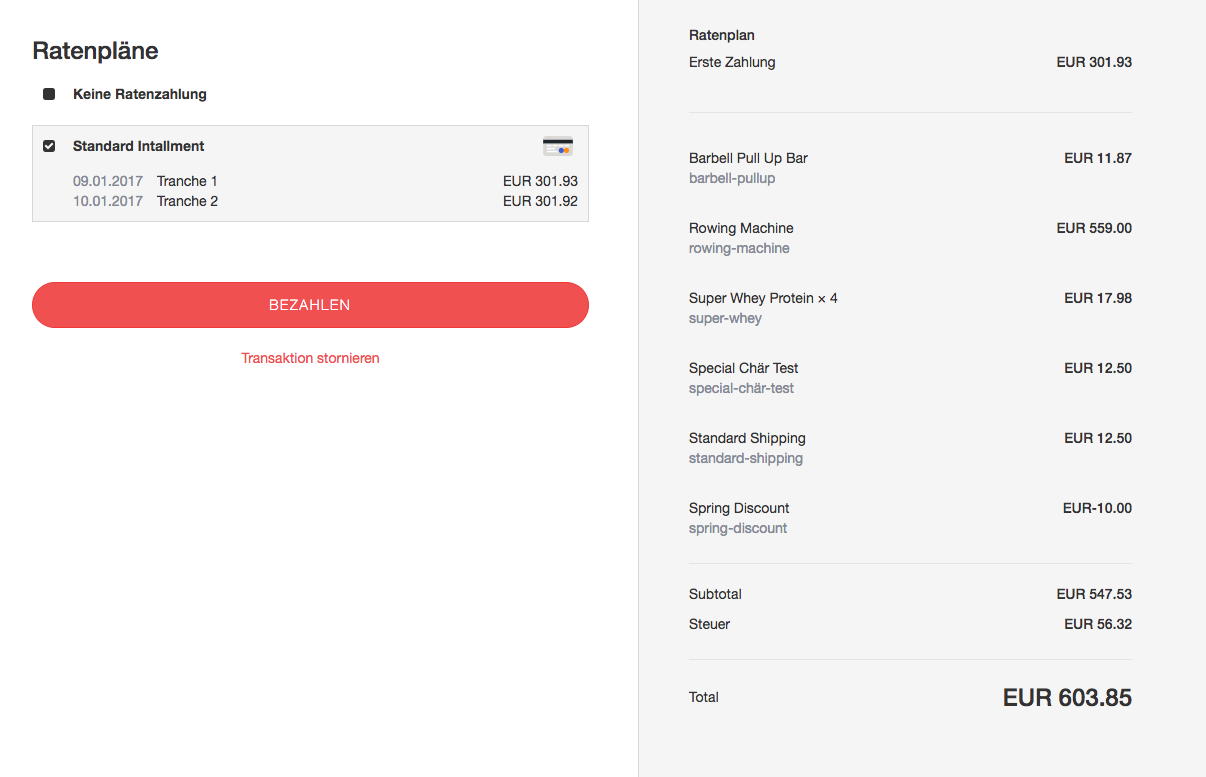
The different ongoing payments are visible in the backend under Space > Payment > Istallments.
As outlined in the introduction the installments stay Running until they are either
Defaulted or Done.
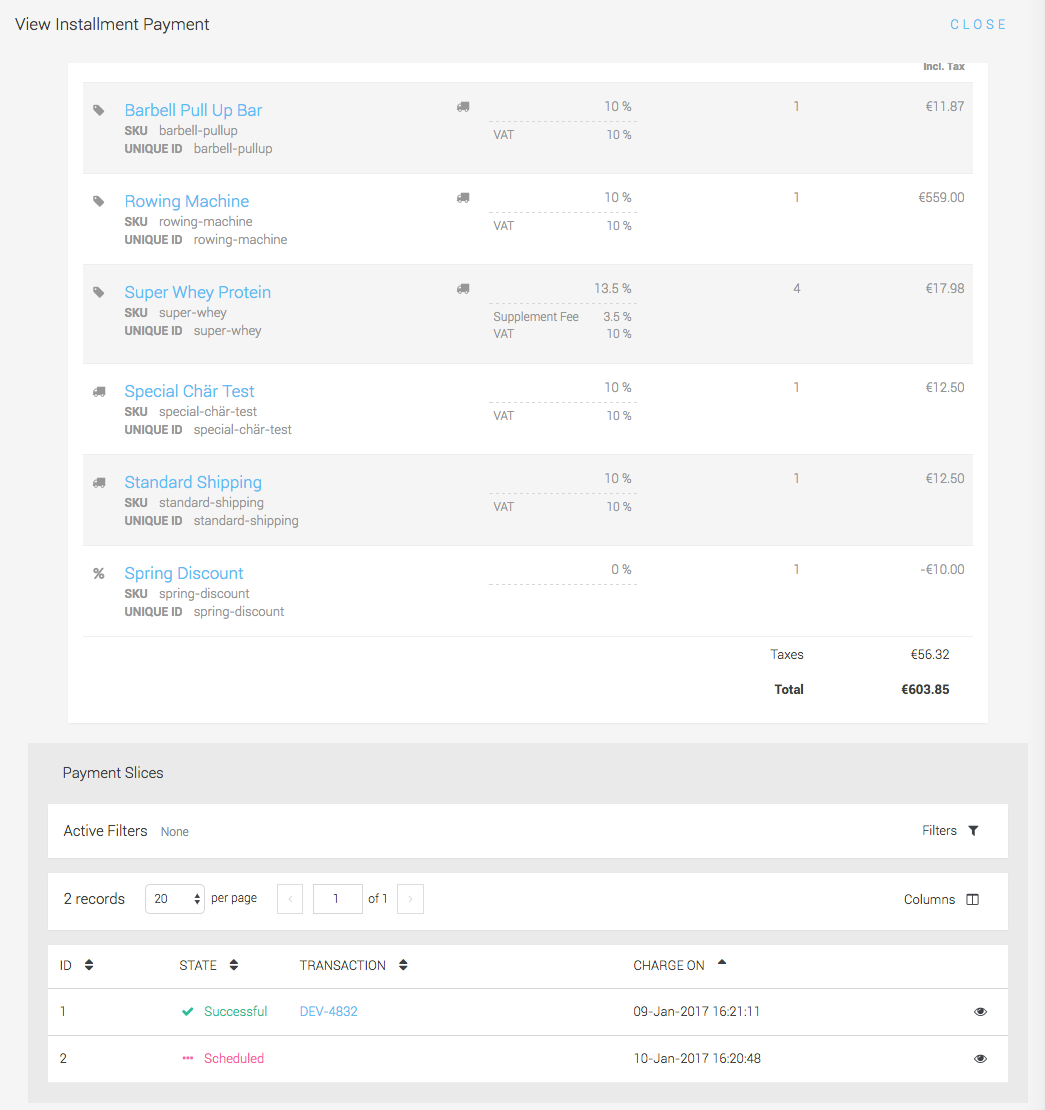
If you want to see the status of the scheduled or done payment slices you can open the installment payment and on the bottom you see an overview of the installment payments.
We defined already a set of default emails or document templates that will be sent for initial transactions with installments and for subsequent emails. However, you can adjust them.
In case you want to adjust the installment email for subsequent authorizations or fulfill transactions navigate to Space > Email Setup > Email Templates. Here you can open your edit existing Authorization Email or Fulfill Email respectively in case you did not create any you are able to create a new templates here.
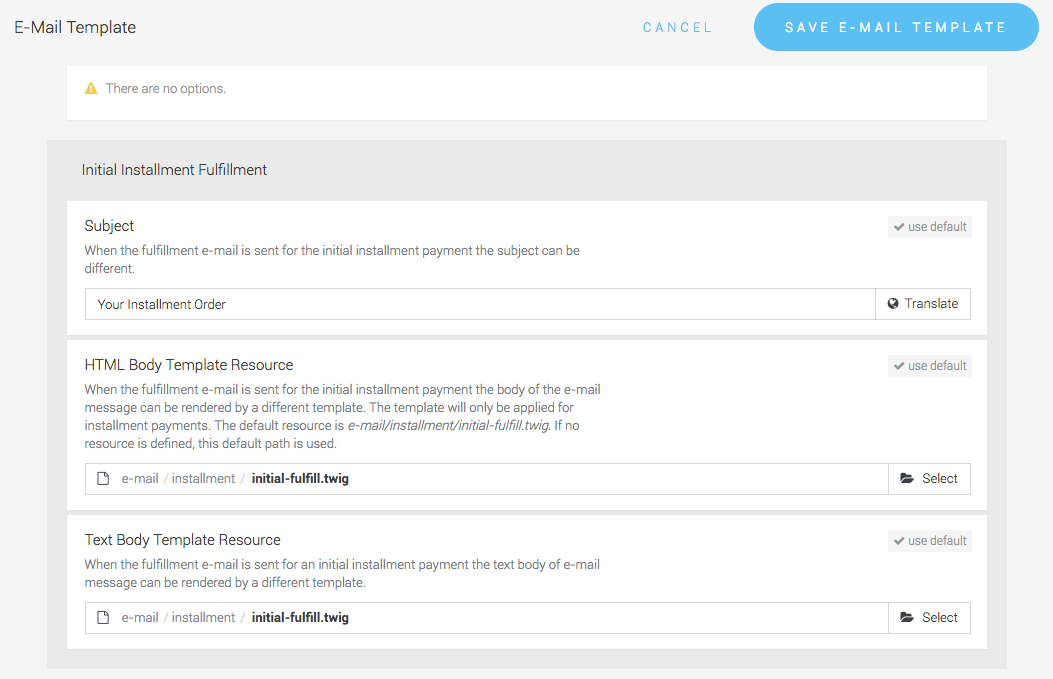
You will find settings to set a subject, the text resource etc. In case you the installment feature is installed you will find new settings for the initial installment mail and for the subsequent email. Select here the templates that you created inside the resource editor beforehand.
Edit your Connector Configuration (Space > Payment > Configuration > Connectors) and select the email template that you created before.
In case you want to adjust the installment documents navigate to Space > Document Tempaltes. Here you can open your existing Documents respectively in case you did not create any you are able to create a new templates here.
If you want to add the initial line items of the order to the documents you will have to adjust the invoice.twig as described below. This will attach the line items of the initial order to the installment invoice.
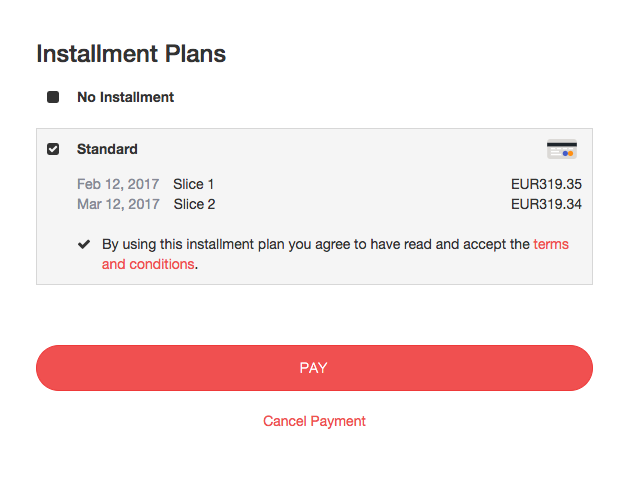
{% include '/document/template/installment/line-item.twig' %}In case you are legally required to add terms and conditions you can do this when you create the installment plan under Space > Payment > Configuration > Installment Plans. Create your resource in the resource editor and attach it. In this case the General Terms will be shown on the payment page.
|
Note
|
You can also attach the General Terms and Conditions to the Email you can do so by creating an email attachment under Space Email Setup > Email Attachments and then select the attachment in your email templates. |