You can create your own account online by in the TWINT Portal. You can also register a new account here if you have not already. The login to the TWINT portal is required to connect your Online Shop.
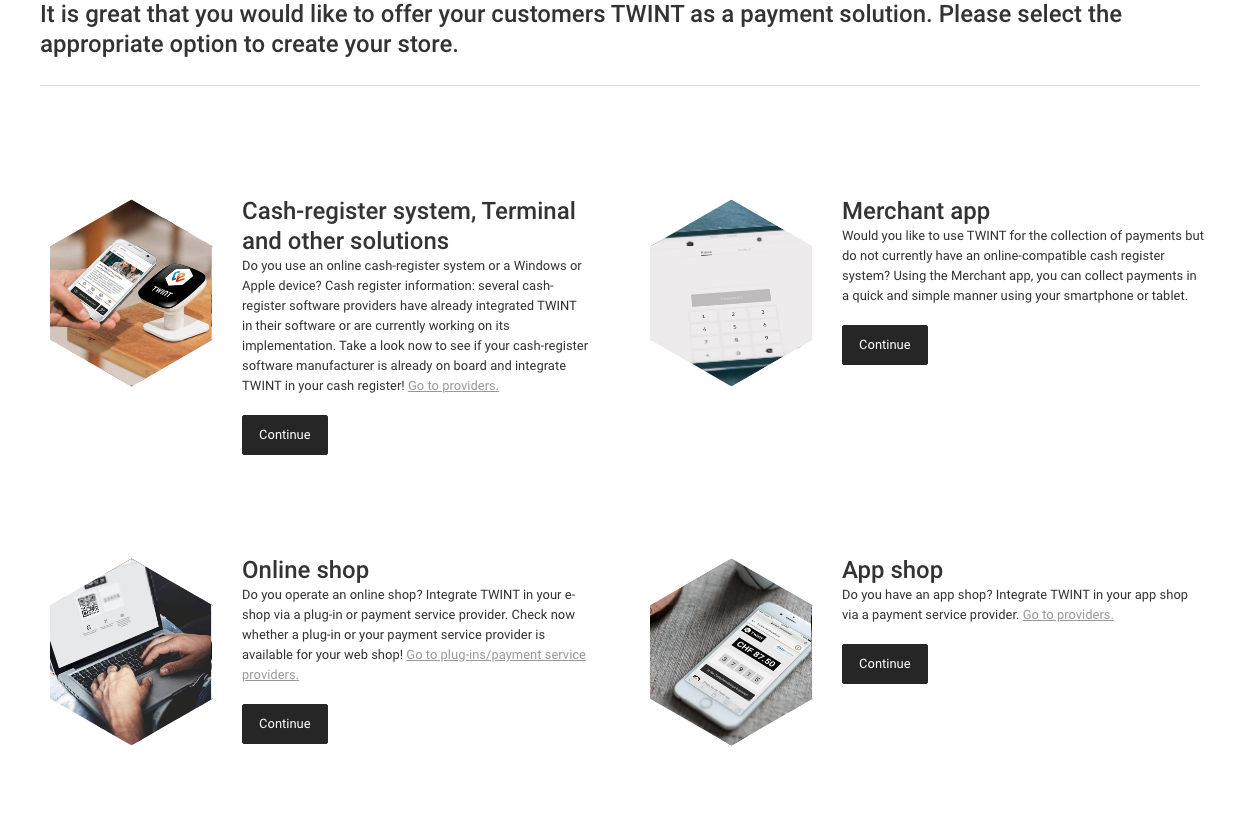
On the dashboard you can click on Create Online Shop to register your Shop. Fill out the required data.
Figure 1. Click on Online Shop to register your store
In the second step choose the integration Option PSP (payment service provider) and select the platform out of the list.
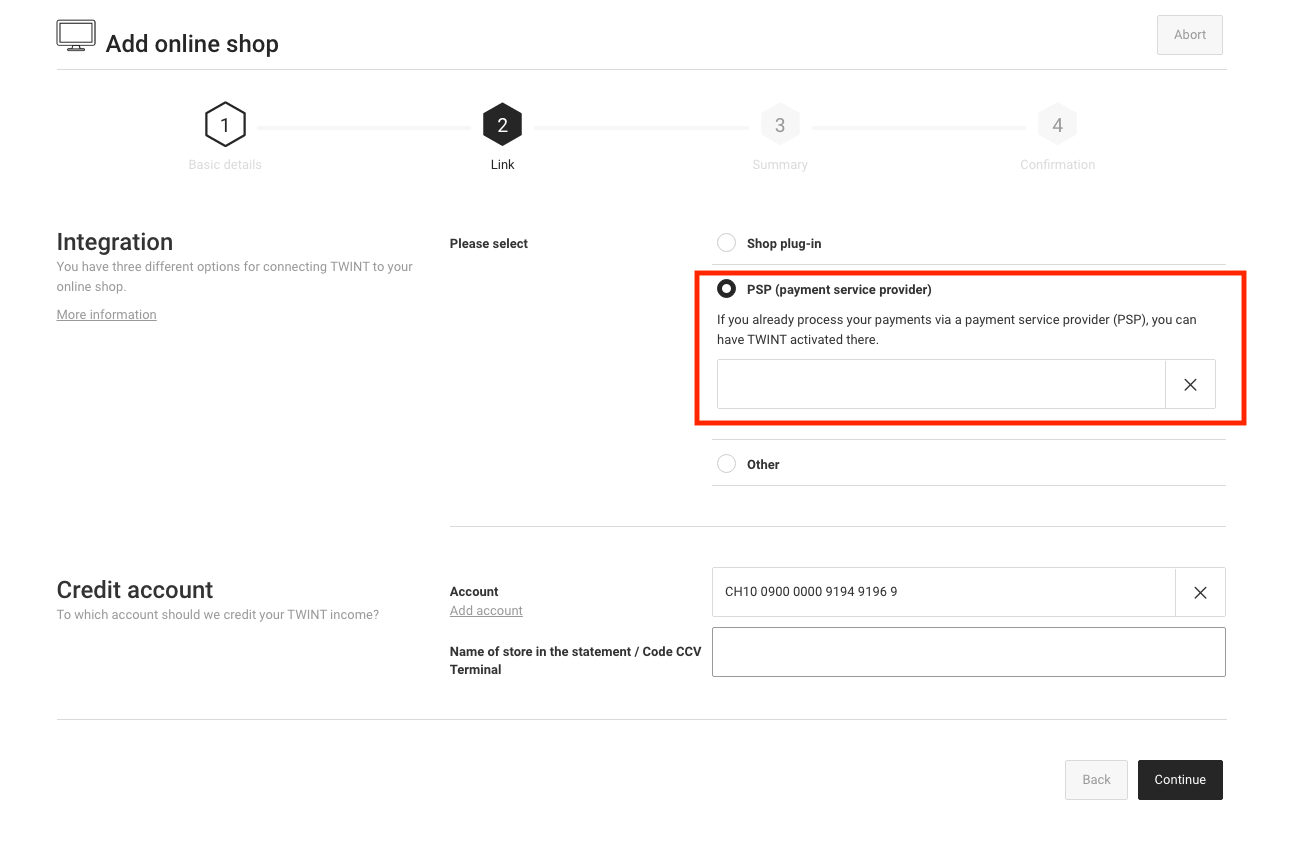
Figure 2. Choose the PSP Payment Service provider out of the list.
At the end of the registration process you will be provided with the TWINT UUID. Please note this ID down as you will need it for the processor setup later.

Figure 3. Copy the UUID for the TWINT Live Setup later.
In order to create the processor configuration navigate to Space > Payment > Configuration > Processors. Select TWINT out of the list of available processors.
In order to view the TWINT transactions you need access to the back office. In the back office you are able to register new online shops or view the transaction status.
By default your processor will be activated in an simulation mode that allows you to test the TWINT payment method in your store. If you are ready to accept real payments, set the Operation Mode to live. Now you will be asked to type the UUID that was shown in the sign up process. Paste the UUID here and store the configuration. .
Figure 1. Paste this UUID now into the respective field inside the processor configuration in order to process live payments.
|
Note
|
You can only process live transaction if you provided your billing information. |
After you successfully stored the processor configuration you can go ahead with the configuration of the payment methods and the connectors. More information about the processor concept have a look at our Payment Documentation.