You can create your own Braintree account directly online. Go to https://signups.braintreepayments.com/ and sing up for a merchant account. After all information have been provided you will receive the information required to create the processor and connector configuration inside the application.
Once you signed up for a merchant account with Braintree you will receive an email that contains all the necessary information to login into the Braintree merchant administration backend.
You have the option to setup your account by using the setup assistant in your space. The setup assistant will create the necessary steps for you to accept payments. All you have to do is to fill out the required credentials when asked.
Below you find the necessary setup steps without using the setup assistant.
First of all, the Baraintree processor has to be configured. In order to do this navigate to Space > Payment > Configuration > Processors. Select Braintree from the list of available processors.
The operation mode lets you choose between the sandbox and the live mode. In the sandbox mode you are able to test the integration without doing live transactions. As soon as you finished your tests you can switch into the live mode. Enter your credentials for the live mode and you can start processing transactions.
|
Note
|
You can only process live transactions in case you have a live account. |
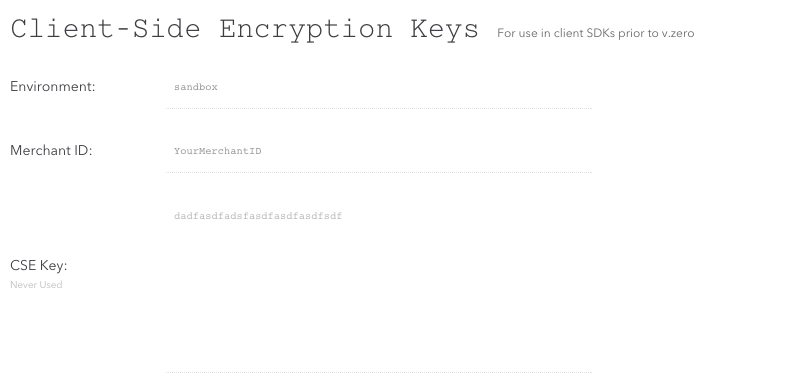
The merchant ID as well as the public and private key can be generated inside the back office of Braintree. In order to do this, login to your sandbox or production account and navigate to Account > MyUser > API Keys, Tokenization Keys, Encryption Keys > View Authorizations.
First of all, copy the merchant ID into the processor configuration.
Figure 1. Copy your merchant ID into your processor configuration.
Secondly, you need to generate a new API Key in case you did not already. Click on Generate New API Key. This will generate a new public and private key pair that you can insert into your processor configuration.
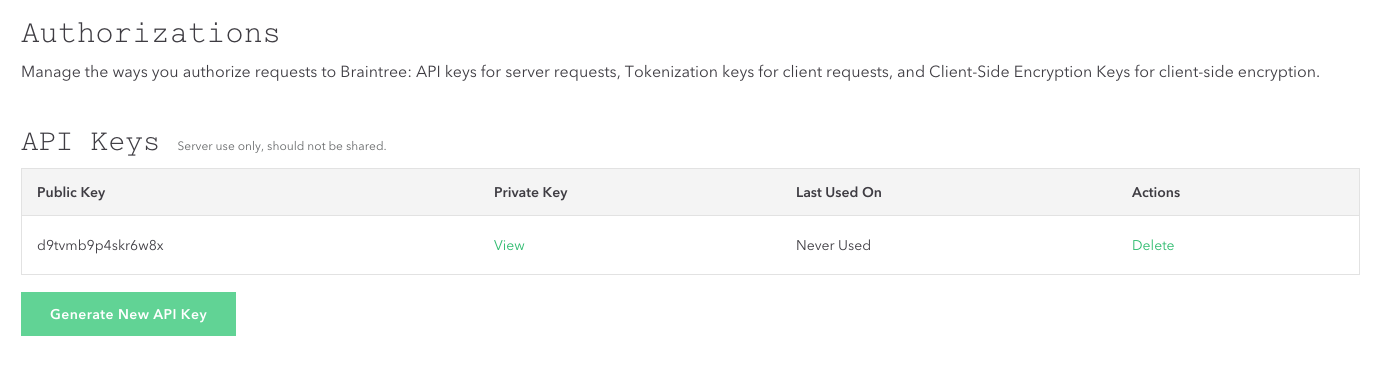
Figure 2. Copy the public and private key inside the processor configuration.
Braintree links the processing currency with the Merchant Account ID. Therefore, you have to setup for each currency that you want to process the Merchant Account Id.
The Merchant Account ID and the currency can be found in your Braintree account under Settings > Business > Merchant Accounts. There your find your Merchant Account ID and the corresponding currency. Enter this values also in to your processor configuration.
|
Note
|
The Merchant Account ID can be different from the Merchant ID. Make sure you copy the account ID from the Braintree back office into the configuration. |
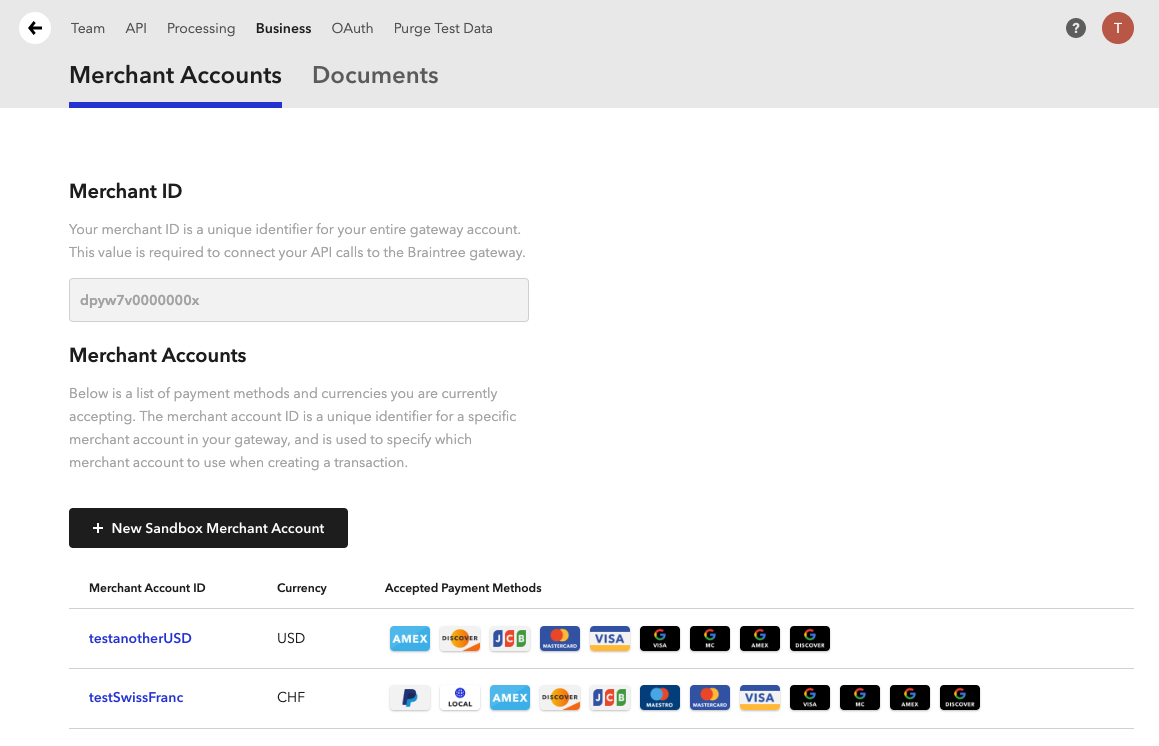
Figure 3. Create Merchant Accounts for different currencies.
Now store your configuration and create the missing payment methods and connectors in order to start accepting payments via your Braintree account.
|
Note
|
In case you want to settle in a new currency. You have to create a new new Merchant Account and select the new currency you want to settle in. Inside the application you can then create a new processor configuration for this currencies. It is encouraged to create new connectors for this processors and apply conditions based on the currencies. |
After you successfully stored the processor configuration you can go ahead with the configuration of the payment methods and the connectors. More information about the processor concept have a look at our Payment Documentation.
Braintree processor allows you to simulation various error conditions in the test environments, by using different amounts between 2000 and 5000.01. Different amounts will cause different error codes. Please see the section "Testing Amounts" on this Braintree documentation page for more details.