Per iniziare a elaborare pagamenti tramite Saferpay devi prima ottenere un account esercente. Una volta firmato il contratto con Saferpay, riceverai un account per l’interfaccia di amministrazione Saferpay, disponibile a questo link: https://www.saferpay.com/BO/Login
Una volta in possesso delle informazioni dell’account, puoi proseguire con la configurazione del gestore.
Puoi creare il tuo account di test presso Saferpay compilando il modulo di richiesta. Riceverai i dati di accesso di test utilizzabili per accedere alla piattaforma di test.
Una volta effettuata la registrazione per un account commerciante con Saferpay, riceverai un’e-mail che contiene tutte le informazioni necessarie per la configurazione del gestore Saferpay.
Innanzitutto è necessario configurare il gestore Saferpay. Per farlo, vai a Space > Pagamento > Configurazione > Gestori . Fai clic su crea configurazione del gestore e digita Saferpay nel campo per selezionare il gestore e avviare la configurazione.
Trovi l’accesso di amministrazione del tuo account ai seguenti link:
-
Test-Platform: https://test.saferpay.com/BO/Login
-
Live-Platform: https://www.saferpay.com/BO/Login
L’Operation Mode ti consente di scegliere tra la modalità test e la modalità live. In modalità test hai la possibilità di testare con il tuo account di test Saferpay. La configurazione è esattamente identica tra la piattaforma live e quella di test.
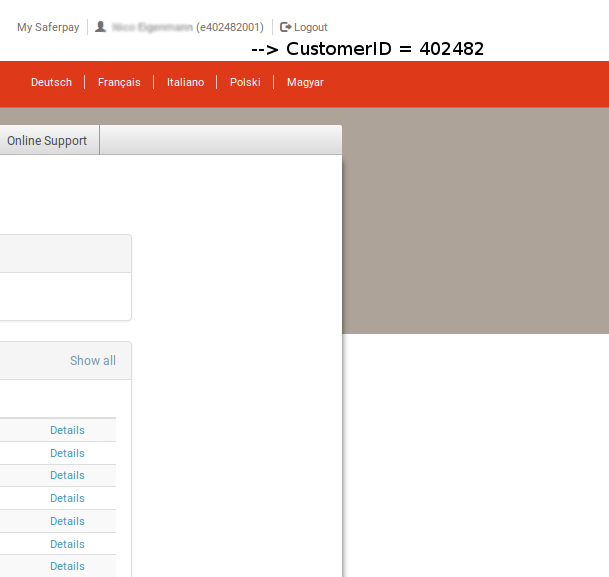
Avrai bisogno anche di un Customer ID. Lo trovi in alto a destra. Accanto al tuo nome utente c’è un numero tra parentesi. (Ha ad es. questo aspetto: e402487002). Il tuo Live Customer ID è costituito da questo numero. È sufficiente omettere la e e le ultime tre cifre e otterrai il tuo Customer ID. È costituito da sei cifre. Nell’esempio sopra il tuo Customer ID sarebbe 402487. (Confronta con lo screenshot più in basso)
Figure 1. Il customer id si trova nell’angolo in alto a destra. Ometti il primo carattere e le ultime 3 cifre per ottenere il tuo id.
Per il Live Terminal ID devi andare a Transactions > Payment e nella barra in alto troverai un numero di otto cifre. Quello è il tuo Live Terminal ID. (Nello screenshot è il numero 177xxxxx)
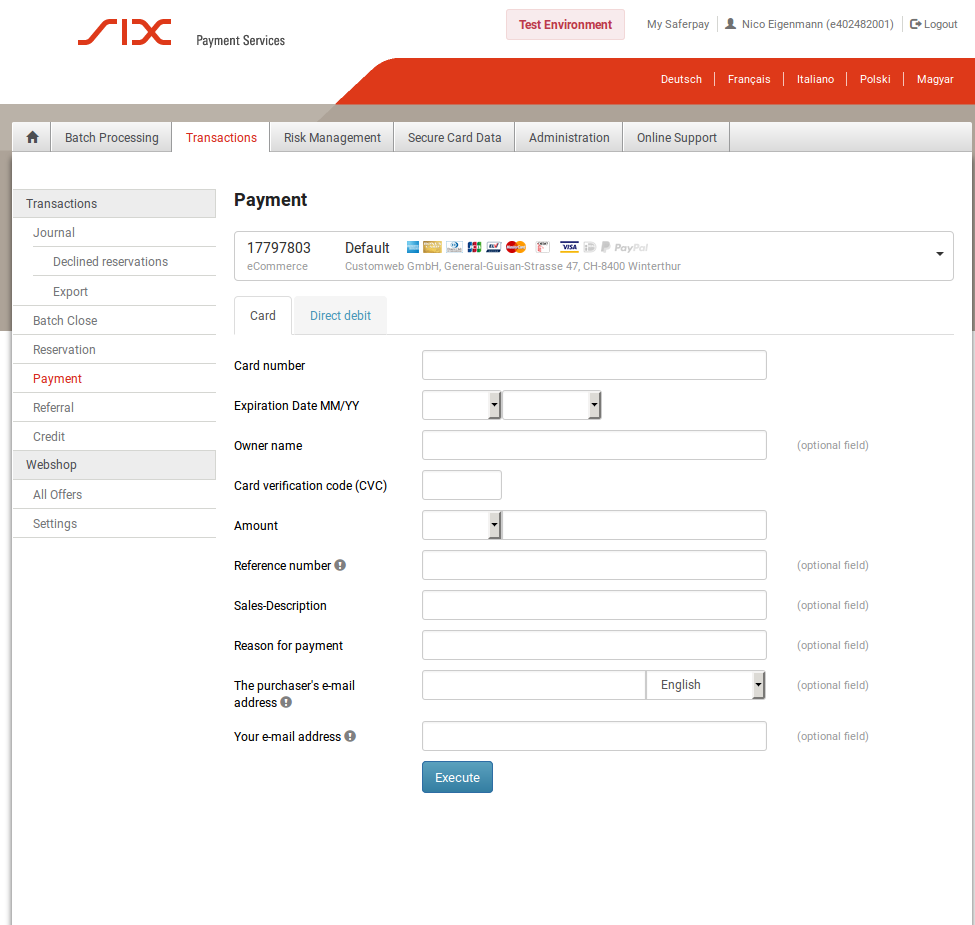
Figure 2. Il Terminal ID si trova sotto Transactions > Payment.
I dati di accesso per l’API JSON possono essere creati tramite Administration > JSON API. Qui puoi scegliere una password. L’utente viene generato automaticamente. Copia la password e il nome utente nella tua configurazione del gestore.
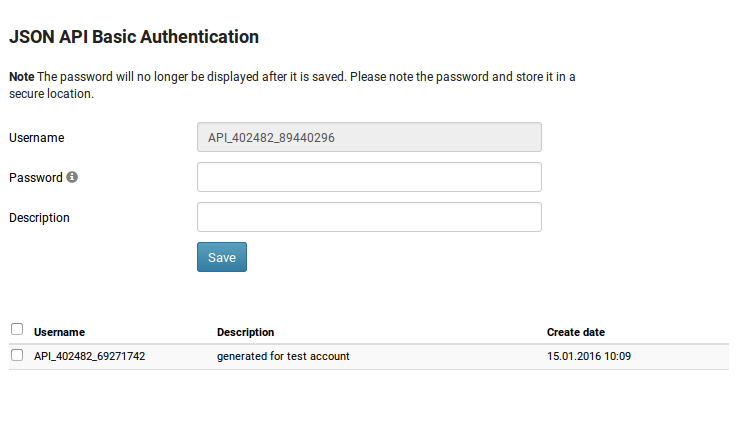
Figure 3. L’utente e la password dell’API JSON si trovano sotto Adminstration > JSON API.
Se non l’hai già fatto, devi creare i tipi di pagamento che desideri elaborare tramite Saferpay. Per farlo, vai a Space > Configurazione > Gestore > Tipi di pagamento e aggiungi i tipi di pagamento.
Infine, devi collegare i tipi di pagamento con le configurazioni del gestore a configurazioni del connettore per ogni tipo di pagamento che desideri elaborare. Per farlo, vai a Space > Configurazione > Gestore > Connettore e crea una nuova configurazione del connettore.
All’interno della configurazione del connettore trovi varie impostazioni specifiche per il processo di pagamento di questo connettore (impostazioni antifrode, impostazioni fattura PDF, impostazioni e-mail, ecc.). Per maggiori informazioni sul concetto di gestore e sul suo funzionamento, consulta la nostra documentazione sui pagamenti.